 CS Plants
Home › Care › Growing Staghorn Ferns from Spores
Growing Staghorn Ferns (Platycerium) from Spores
Platycerium, commonly called staghorn fern, reproduces in two ways: some species form pups, and every species can be grown from spores. For single-crown species that never make pups, spores are the only way to raise new plants. Here is the method in five steps, with photos of each.
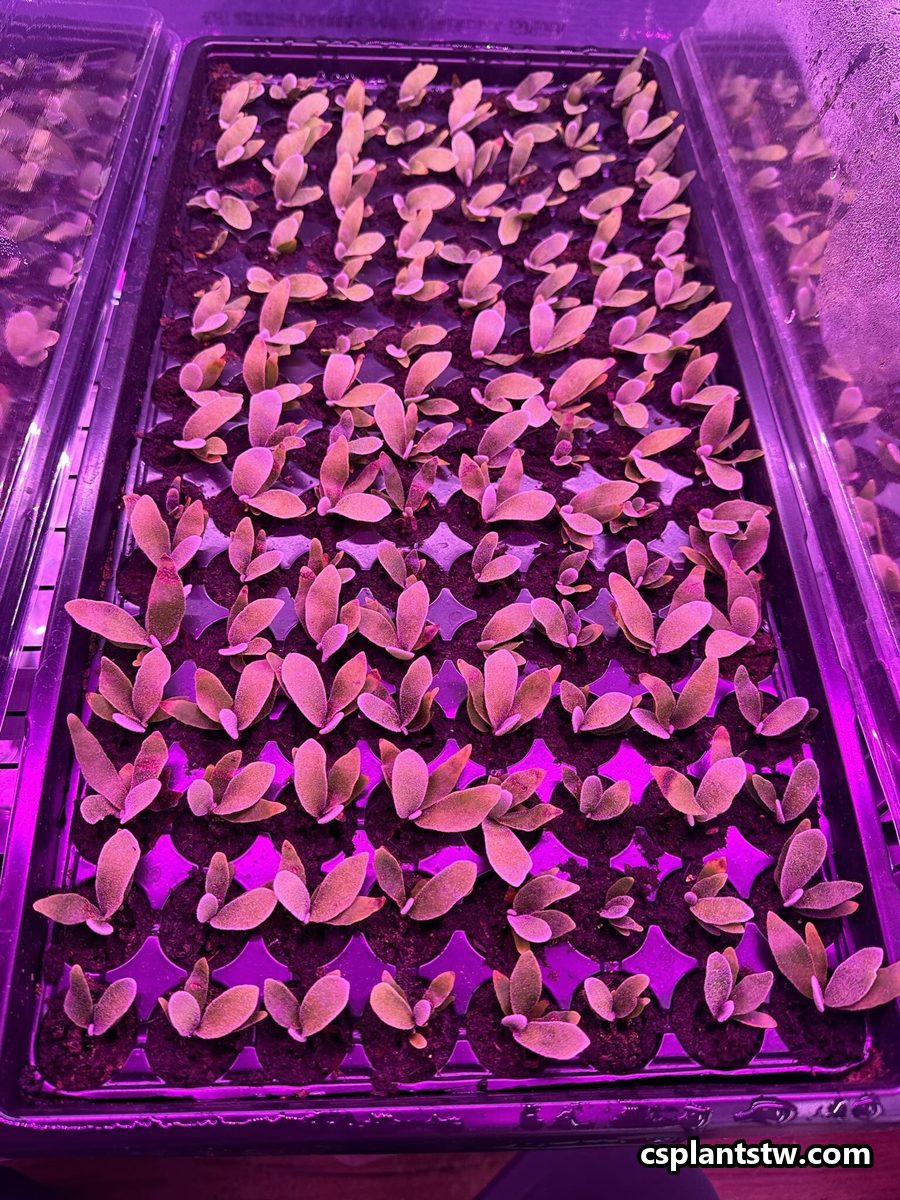
Why grow Platycerium from spores?
Pup-forming species can simply be divided, which skips the long wait from spore to plant shown in the timeline below. Single-crown species such as P. coronarium, P. grande, P. superbum, P. wandae, P. holttumii, P. ridleyi and P. wallichii cannot form pups, so their new plants come from spores. See which species make pups.
A spore is closer to a seed than an egg. It grows first into a tiny, heart-shaped prothallus, and the prothallus then produces the young fern.
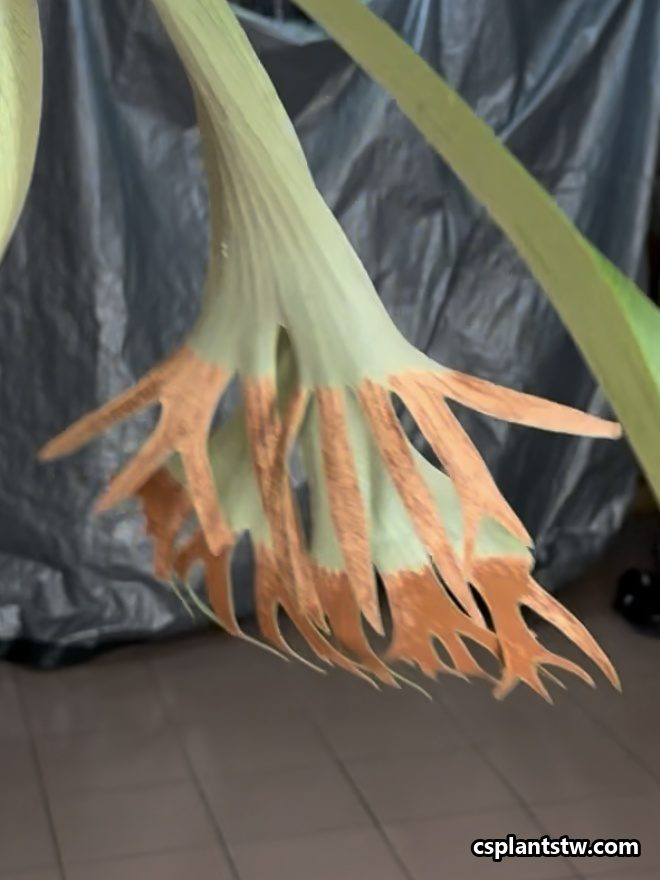
1. Check the spores are ripe
Spores form in brown patches (sori) on the underside of the fertile fronds. Harvest only when the patches have turned dark brown. Pale or greenish patches are not ripe yet.
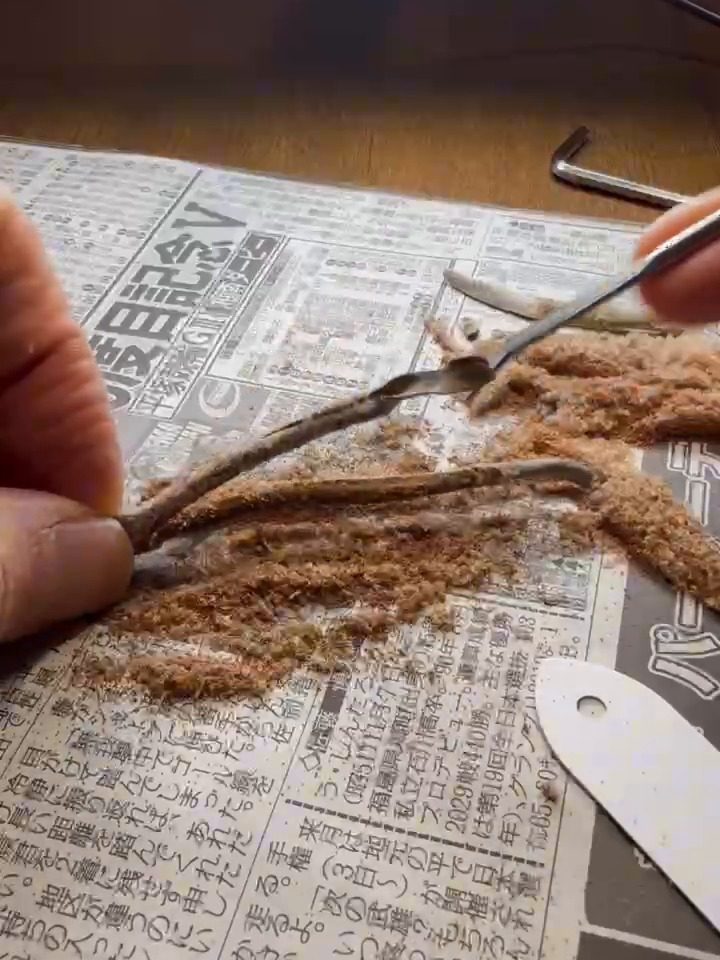
2. Scrape them onto paper
Gently scrape the ripe patches onto a sheet of clean, dry paper.
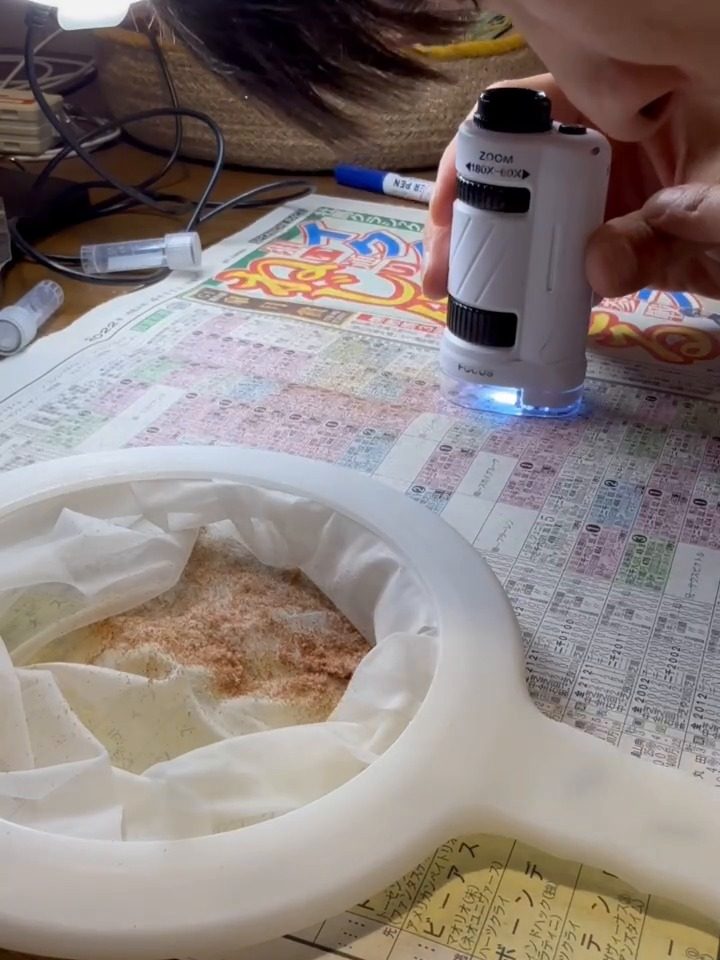
3. Look at them under magnification
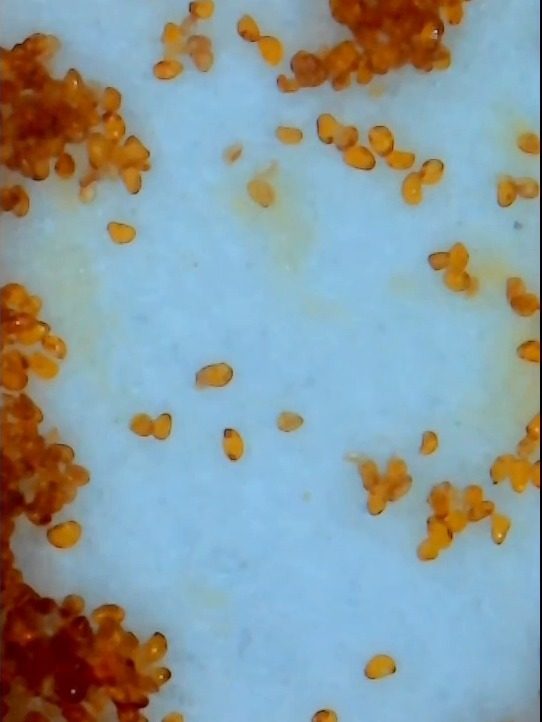
Check the scrapings under a microscope or loupe. Plump, well-filled spores germinate best. Pale, shrivelled or bleached spores rarely do: in our partner's tests, fewer than 1 in 10 germinated. Magnification also shows how much debris is mixed in.
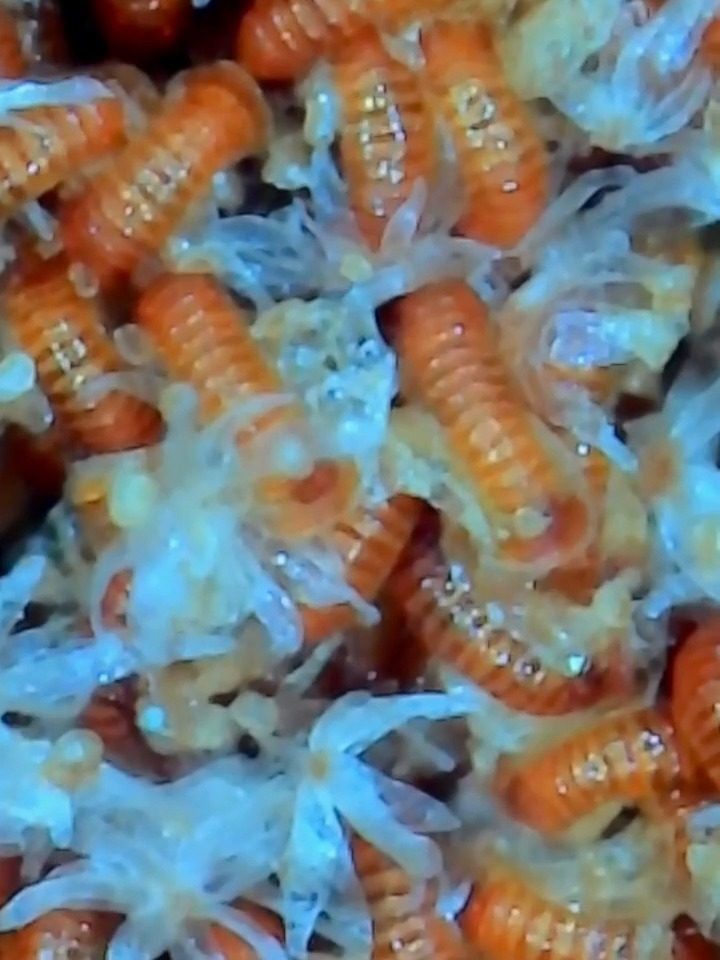
4. Sieve twice
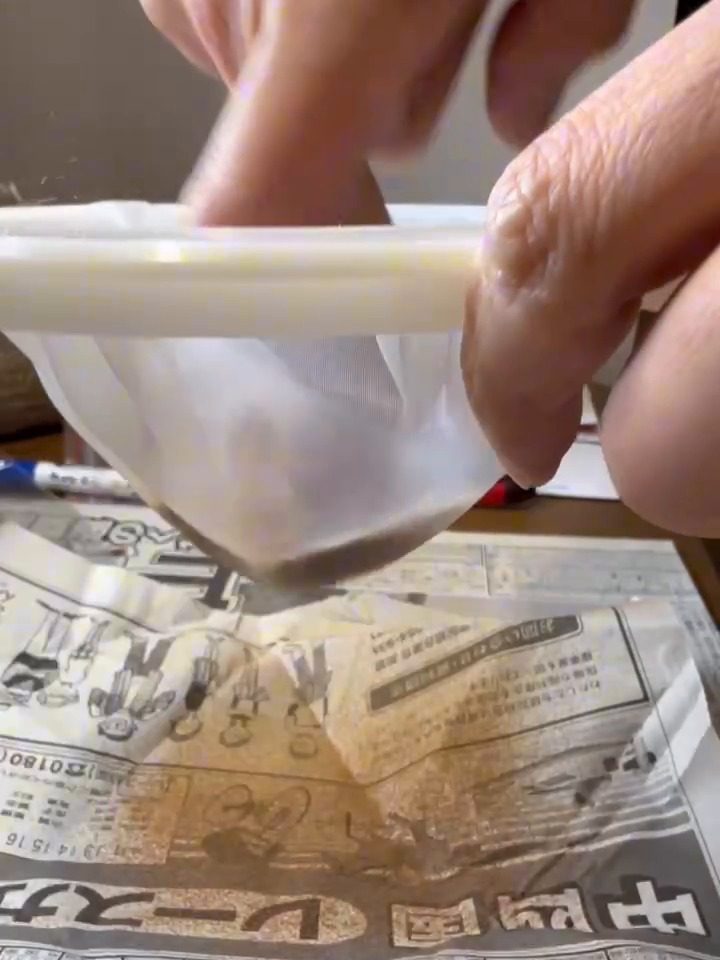
Sieve the scrapings twice: first through a 100-mesh screen, then through a 200-mesh one. Press gently so the sporangia break open and the spores pass through. The sporangia, star-shaped hairs and bits of frond stay behind. Leave them in and they bring mould.
5. Sow
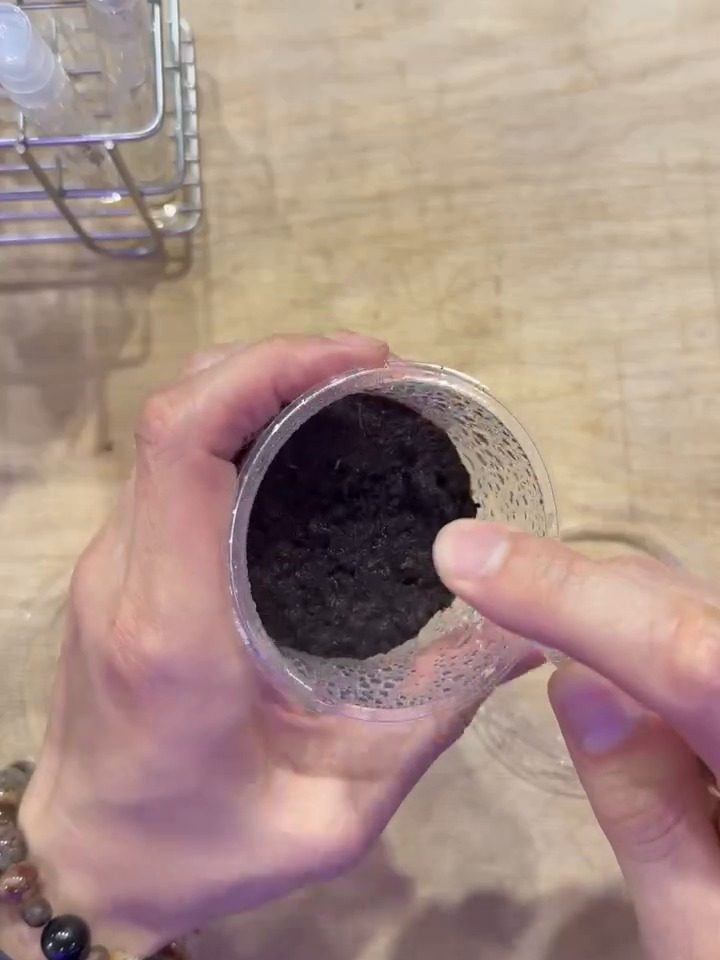
Dust the spores thinly over moist peat in a closed container. You do not need to sterilise the peat. Keep it humid, at around 28 °C, under an ordinary plant grow light.
How long it takes
Be patient. The Textbook's timeline is for P. bifurcatum:
- 1–4 weeks: the spores germinate.
- Next 1–2 months: tiny heart-shaped prothalli form.
- About 6–10 months: the first true fronds appear.
- Once they are large enough to handle: pot them on.
- Another 1–2 years: before a sporeling becomes a sellable plant.
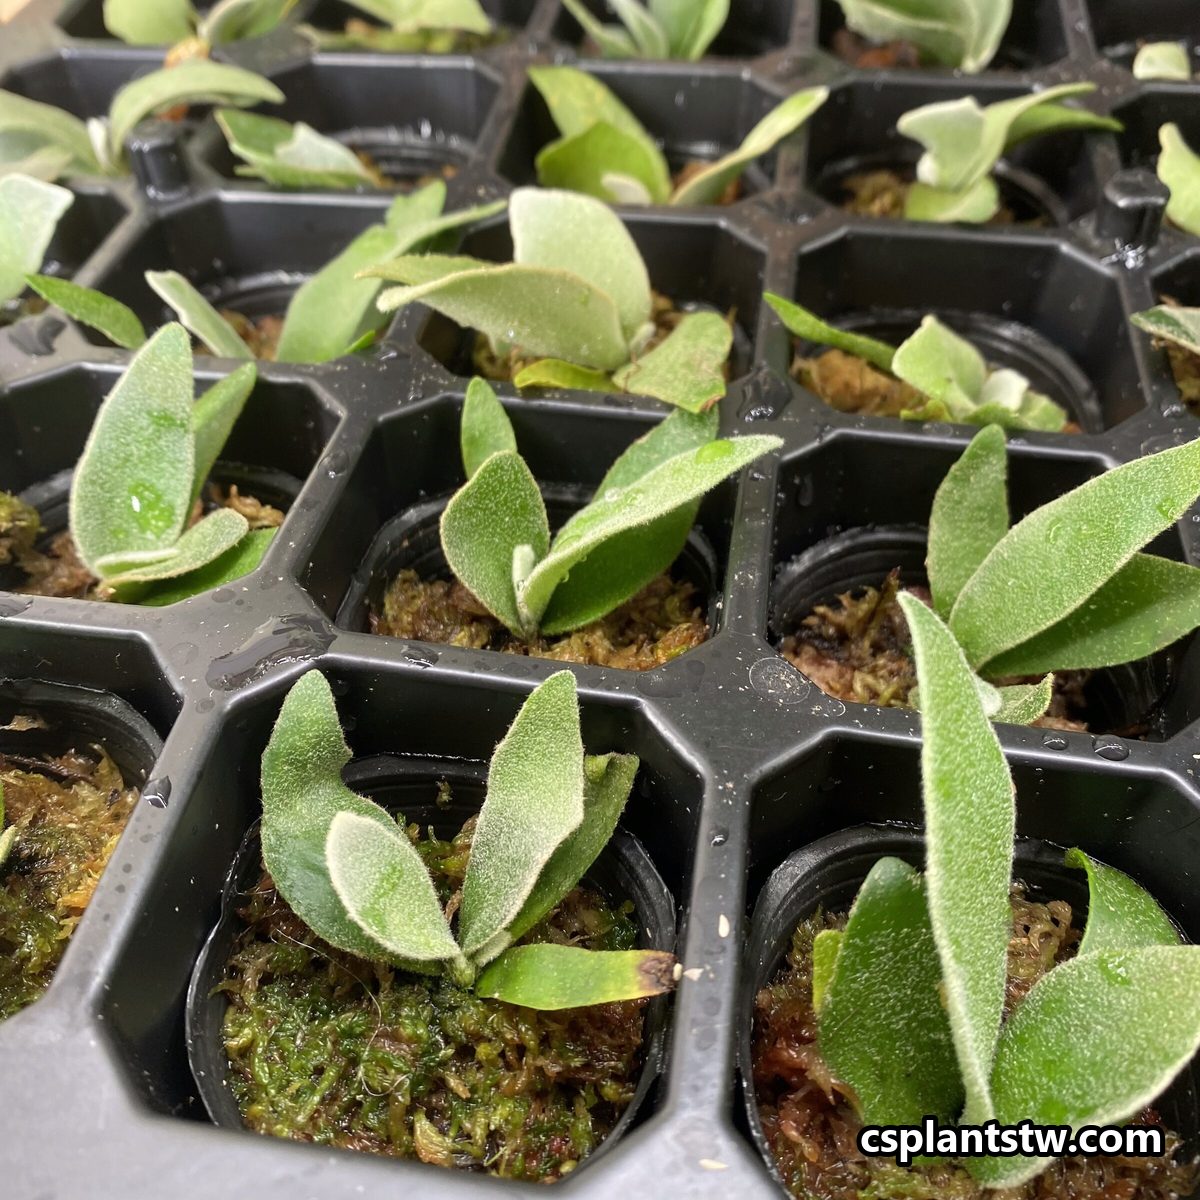
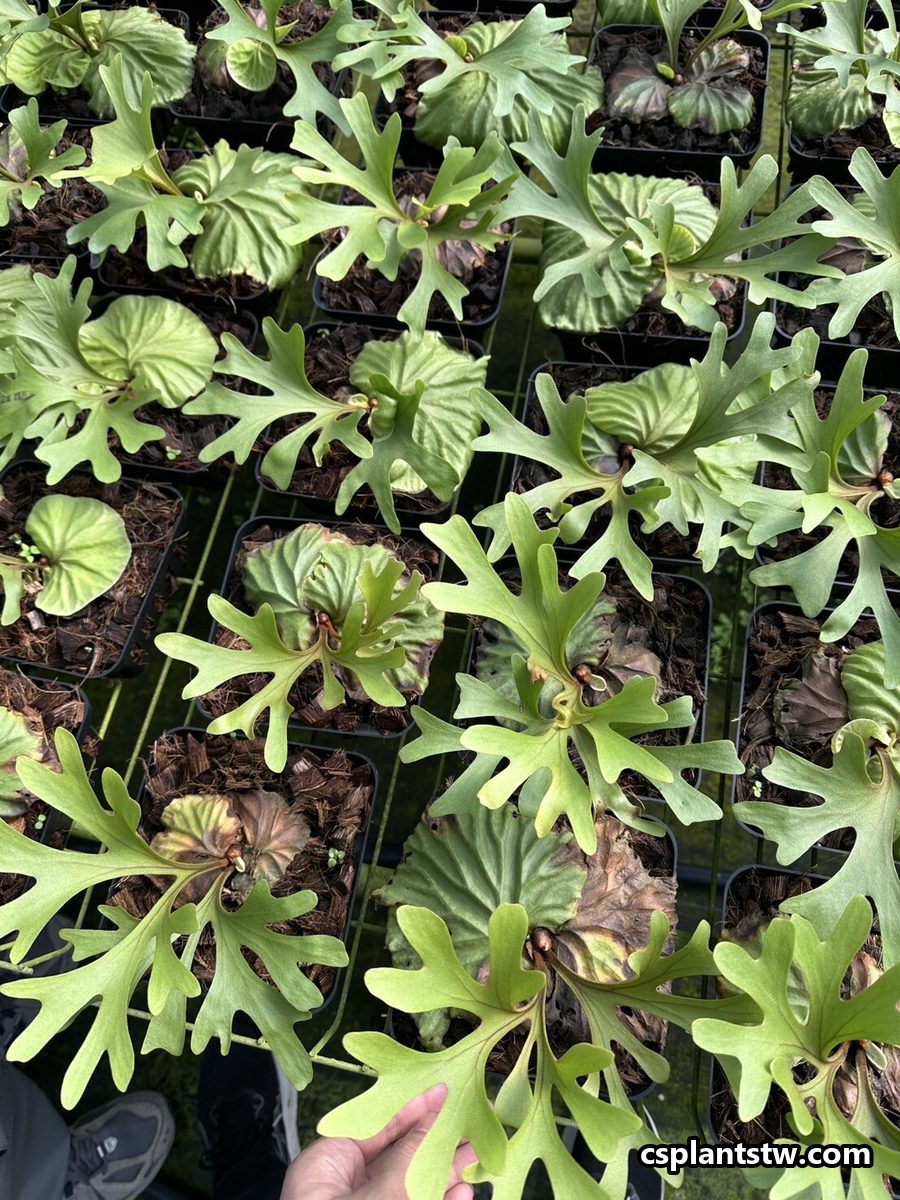
Once potted on, sporelings are grown like any young Platycerium: bright, diffused light, 50–80% humidity with moving air, and water when the medium dries. See the care quick reference.
Spore-sowing method and step photos courtesy of our partner, plant specialist WOW forest · 植播電台 (Instagram)
Keep reading
Looking for plants? See Platycerium by type, with mother-plant photos, or the full availability list.
Questions about a plant? Ask us on WhatsApp, email or Instagram.